


Sharepoint Excel File Load to Databricks
The Sharepoint kit uses the Graph API to connect, retrieve an Excel File, and load the content into your data warehouse.
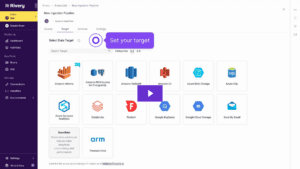
The kit includes…
- A multi-action river to authenticate with the Graph API and retrieve an Excel file Data
- A Source to Target river to push this data to Databricks
- A Logic river using Python to help you retrieve your Drive ID and Item ID
Requirements: Register an App on Azure
Before using this kit, you need to register an Application on the Azure app registration portal :
- Register an application: Get access without a user – Microsoft Graph
- Note the values of tenant_id, client_id (or application_id) and client_secret value . If the client secret has an expiration date, we recommend to log it too
- Please make sure the application has sufficient permissions to get access to the Sharepoint files (in API Permissions). It requires Application permissions for Microsoft Graph API. You can give it access to only one site and we recommend
Files.Read.All(and access to Lists if required).If Admin consent is required, you need to grant it.
How to use the kit?
Step 1: Create your Sharepoint Connection
Kits are imported with ‘blank’ source and target connections. In order to use the template, you have two options:
- Swap out blank connections with existing connections
- Add credentials to the blank connections that come with the imported template.
This kit requires a connection with the tenant_id , client_id , and client_secret .

Step 2: Retrieve your Drive ID and Excel file ID
Before using this kit, you need to retrieve the Drive ID and the Item ID.
We added the Logic River “Sharepoint – Get Drive ID and Item ID” to help you retrieve it with pre-configured Python code.
Configure the river variables
Open the river and fill in these 4 variables :
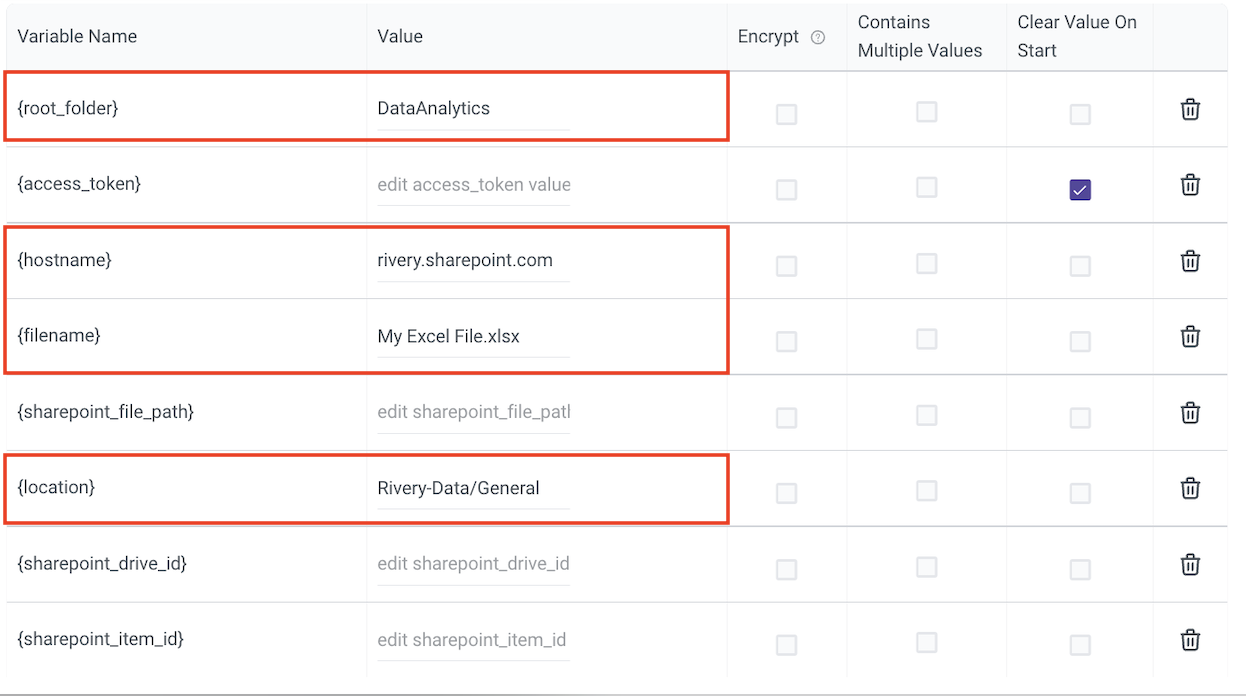
If your Excel File resides in a folder with this URL:
https://rivery.sharepoint.com/sites/DataAnalytics/Shared Documents/[…]
Your hostname will be rivery.sharepoint.com and the root_folder is DataAnalytics
Here is where you can find the filename and location values:

Run the Logic River and retrieve your IDs
Run the Logic River – it can take a few minutes to scan your Sharepoint folders and find the right item. After running, the result will be saved in the river’s variables:
- sharepoint_drive_id
- sharepoint_item_id
- sharepoint_file_path: please use this one to double check that it matches the file you want to retrieve

You can also check the logs for more detail or edit the code if needed.
Step 3: Configure your river
Create Environment Variables
You will need to create these Environment Variables:
- {sharepoint_catalog} is used in the Target configurations as the target catalog name.
- {sharepoint_schema} is used in the Target configurations as the target schema name.
Configure your S2T river
Open the Source to Target river “Sharepoint – Excel Workbook Load”.
- Edit the variable to set your item_id , sheet_name and drive_id .
- In the Target tab, the table name will be “sharepoint_{item_id}” by default. Change it if you prefer another table name.
- In the Schema tab, run the automapping.
You’re good to go and can now run your river.